Refer to the screenshot:
To create a user, perform these steps:
Administration / User Maintenance / User Defined Fields / Create User
Create User
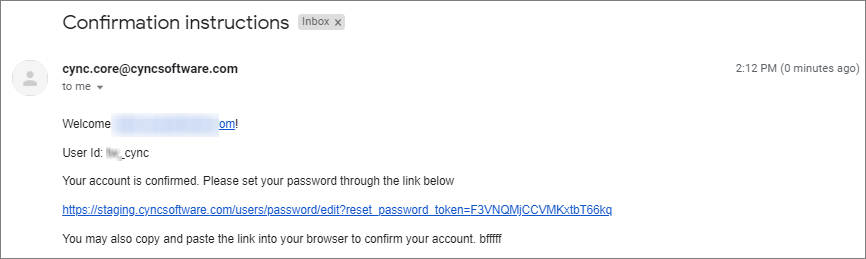
Users can create and manage users and assign roles and permissions to them. The application sends out e-mail notifications to the user once you create a user.
Users can create two types of users; normal users and emergency users. Users can access the application as per his/her access rights whereas, the emergency user can access the application for a limited period.
The emergency user account is created for the users who need to access the application with a different role for a temporary period.
Apart from the roles and permissions of the usual user, the emergency account may have additional roles and permissions as required.
For example, when a user from one role moves to another role for a temporary period, the user needs the permissions applicable to the new role. You need to provide the user with the required additional permissions.
Navigation: Administration → User Maintenance → User Defined Fields → Create User
Refer to the screenshot:
To create a user, perform these steps:
1. Go to Administration → User Maintenance → User Creation. The User Summary page appears.
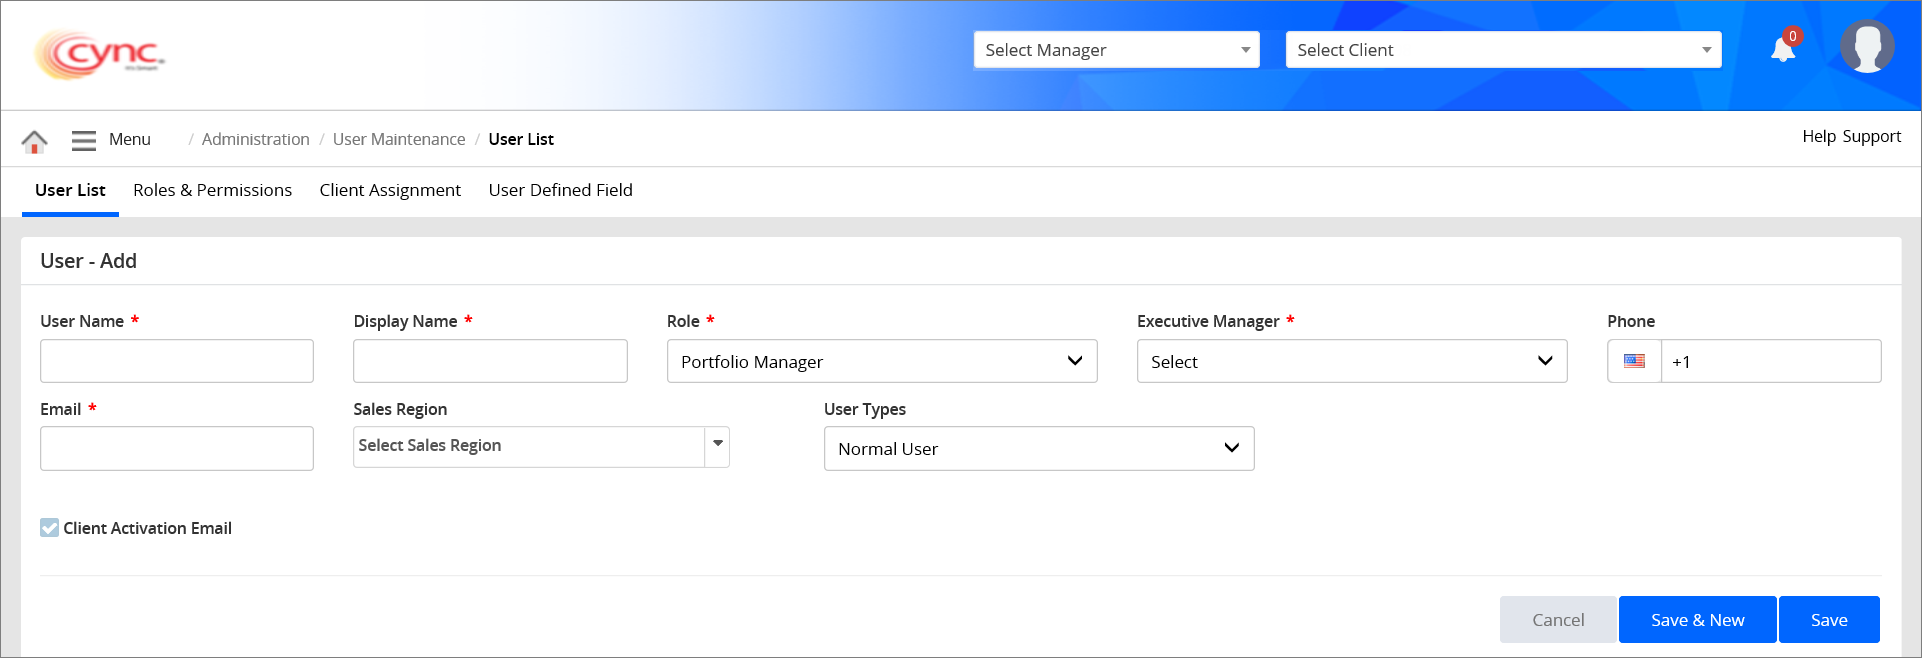
2. Click the  button. A User-Add page appears.
3. In the User Name field, enter the user's name.
4. In the Display Name field, enter the user's display name.
5. In the Role field, select the user's role, such as Portfolio Manager, Collateral Analyst, etc. from the dropdown list.
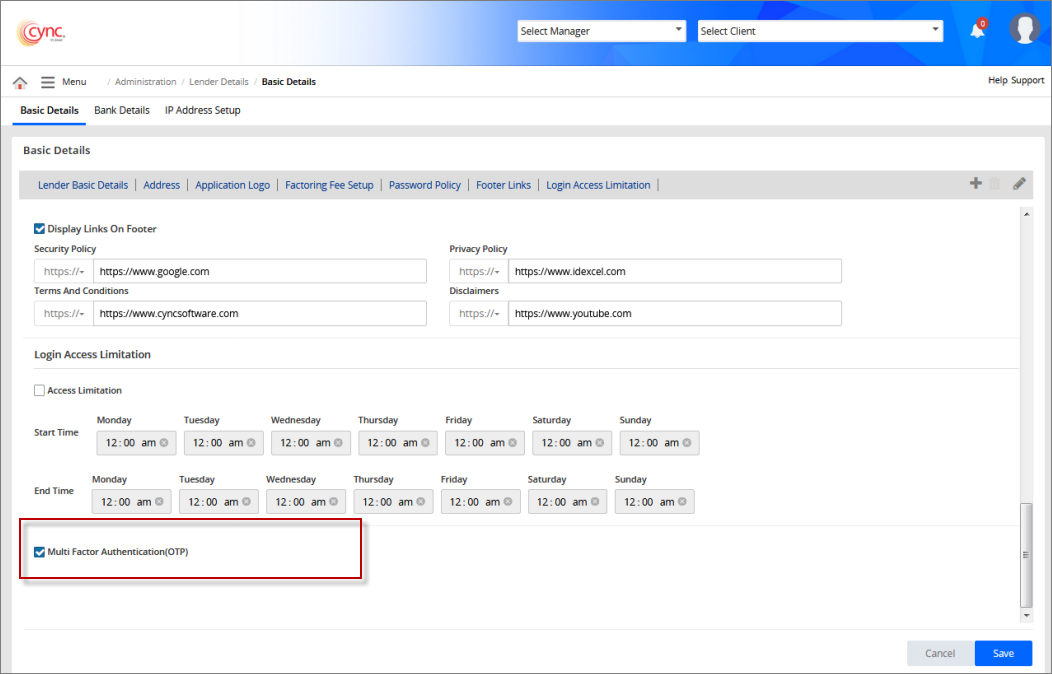
6. In the Phone field, select the country flag symbol and enter the phone number (minimum 8 characters) of the user. This field is mandatory when Multi-Factor Authentication (OTP) feature is enabled under the Basic DetailsBasic Details page.
7. In the E-mail field, enter the user's e-mail ID.
8. In the Sales Region field, select the sales region that the user would be dealing in from the dropdown list.
![]() You can select one or more sales regions. Each user can be linked with multiple sales regions.
You can select one or more sales regions. Each user can be linked with multiple sales regions.
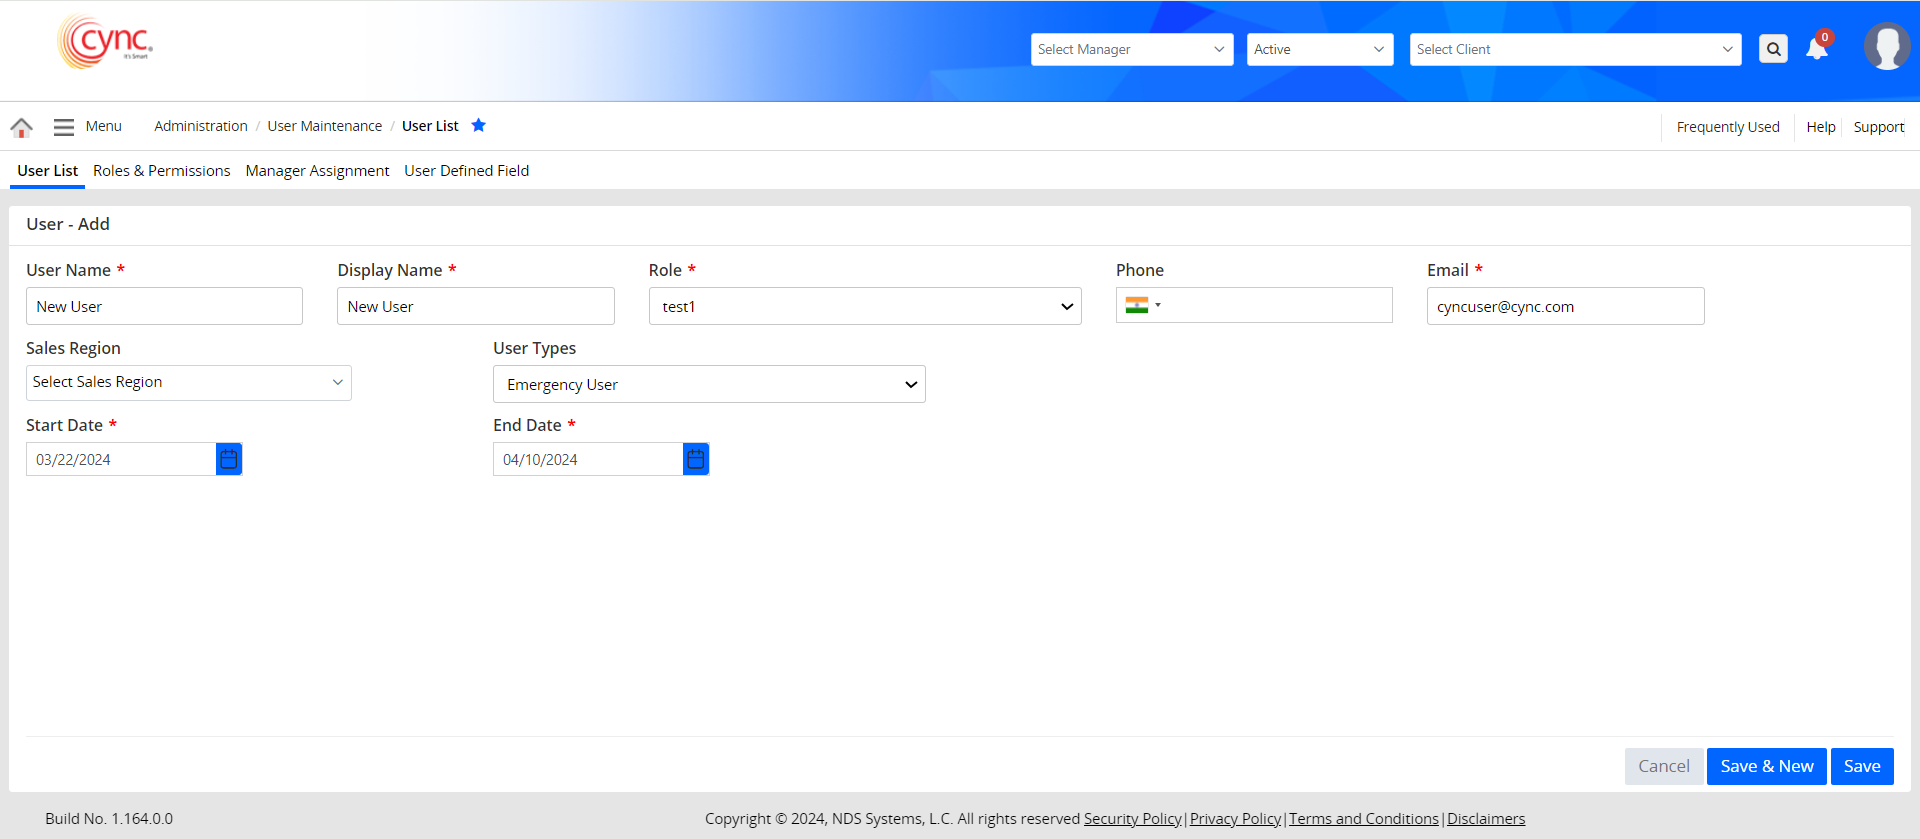
9. In the User Type field, select the user type, Normal or Emergency.
![]() The user should select the Start Date and End Date fields which appear only for Emergency users.
The user should select the Start Date and End Date fields which appear only for Emergency users.
Refer to the screenshot:
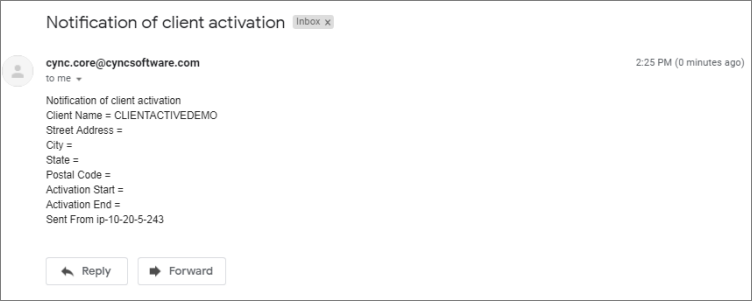
The Client Activation E-mail checkbox appears only for Portfolio manager and Collateral analyst roles assigned users. If the checkbox is selected, then a notification e-mail will be sent to the assigned Portfolio managers or collateral analyst, when the client is activated or deactivated under the Basic Client Detail page.
Refer to the screenshot:
1. Click the  button. The user account is created and the message " Record saved successfully." appears. The system navigates to User list page.
2. Click the 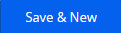 button to save the account and the system stays on the same page which enables the creation of multiple user accounts.
3. Click the  button to cancel your action.
4. Once the user account is created, the system logs the corresponding details in the Audit Logs page.
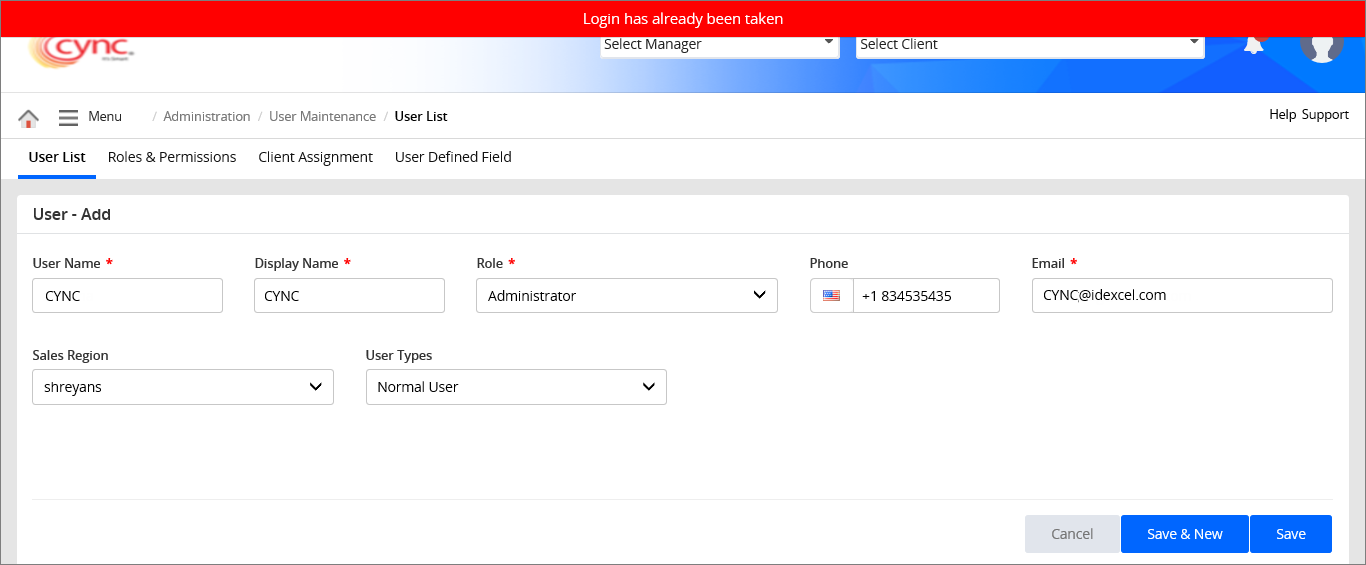
5. When a user creates a duplicate account, the system shows an error notification.
Refer to the screenshot:
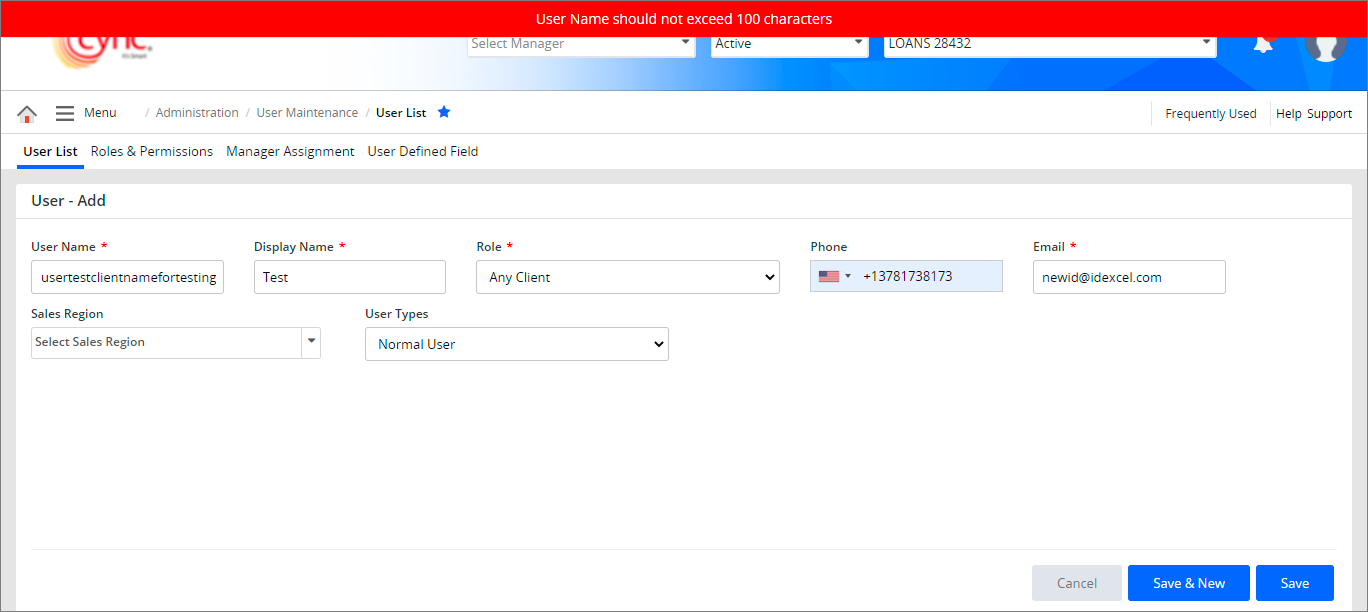
If a user enters more than 100 characters in the User Name field while creating a new user account or editing the existing user account, the system shows an error notification.
Refer to the screenshot:
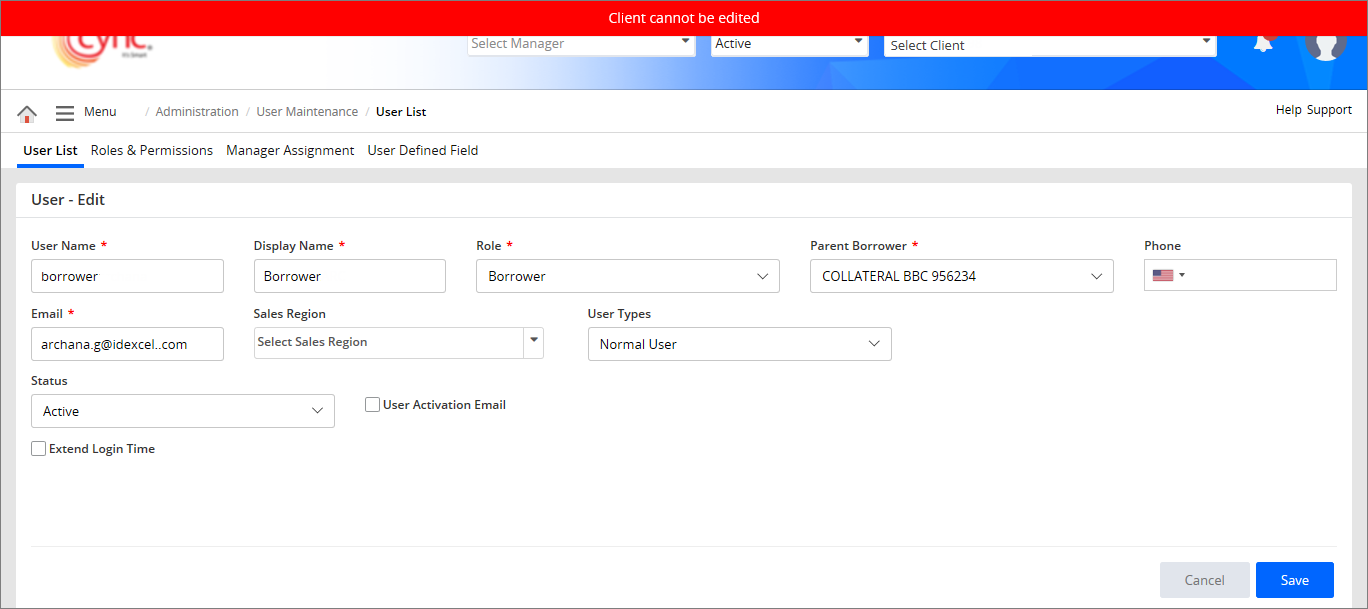
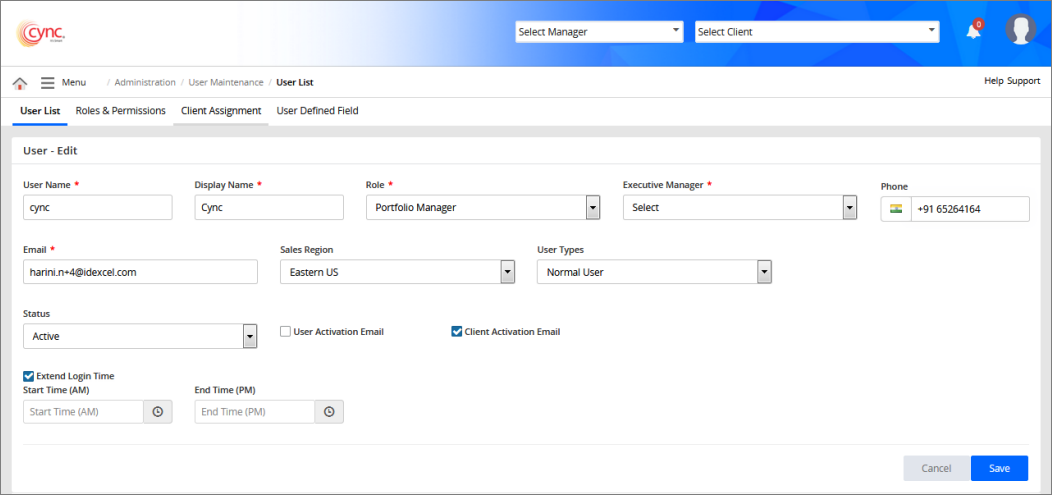
Edit User
You can also edit a user. The edit page of the user includes the created user details with the Status dropdown, User Activation E-mail, Client Activation E-mail, and Extend Login Time checkboxes.
.png)
Refer to the screenshot:
Once the user account is edited, the system logs the corresponding details in the Audit Logs page.
![]() The e-mails are triggered based on the template created under Templates for Client Activation or Deactivation action.
The e-mails are triggered based on the template created under Templates for Client Activation or Deactivation action.
Parent Borrower cannot be edited once it is assigned to any borrower role.
If a user tries to edit the Parent Borrower while editing the existing user account, then the system shows an error notification.
Refer to the screenshot: